File Explorer is the application in Windows 10 which is used for exactly as its name suggests, exploring files. Here, you are able to view all the folders and drives within a particular account on the computer and investigate their contents. The File Explorer app can also be used to move files around and one can create subfolders within the default main folders which can help with better organization of all your files.
Why is file management important?
A file is the information format in which your data is stored on the computer. It could be a document, picture, video, power point slide etc. Understanding how to work with files and folders is an important part of learning how to use the computer.
File management is especially important because if files are thrown anywhere, without order, files may be lost forever. It helps with easy and quick retrieval. Also, file management is important for backing up files as if a particular file gets corrupted or accidentally deleted, then one can recover a copy of it from a backup storage device.
What are folders?
Folders are storage units that store files and make them easier to find
Navigating File Explorer
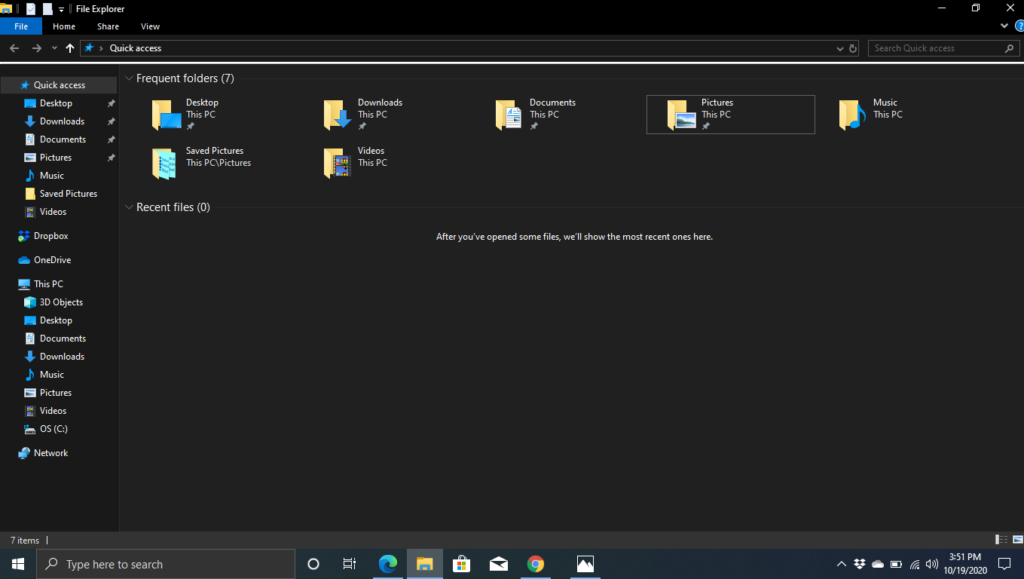
To open File Explorer, you can use the keyboard shortcut Windows + E. Within File Explorer, The TAB key will take you from section to section of the window. For purposes of these lessons, we will focus mainly on two sections, the “Tree View” and the “Items View List”
Upon opening File Explorer, press Tab until your screen reader announces “Tree View” [or Shift + Tab which may take you there faster]. The Tree View is basically a list of all the main folders and drives available. Sometimes subfolders of some of the main folders may show too, depending on the settings and if the main folder contents has been collapsed or expanded. Do not worry about that though, basically it is just a list of the various locations in which files may be stored! You can use the UP or DOWN arrows as well as first-letter navigation to go through the list.
The Items View List consists of the contents of any selected folder. So if you selected the Downloads folder from the Tree View, the contents of the Items View List will change to reflect what the Downloads folder contains. As it is a list, the UP and DOWN arrows and first-letter navigation can also be used to explore it.
How to open a folder or access a drive in File Explorer
-
- Press WINDOWS + E to open File Explorer.
- Keep pressing TAB or SHIFT + TAB until you hear “Tree View”.
- Then use the UP or DOWN arrows to go through the list of folders and drives and use ENTER to select the folder you want to open. For example if you want to open the “Documents” Folder, UP or DOWN through the list and press ENTER upon hearing “Documents”. What if you wanted to access a thumb drive called “Kingston”? Simply Up or Down to find “Kingston” and then Enter.
- After selecting the folder that you are interested in, press TAB once again to switch from the “Tree View” section to the “Items View List” section.
- The “Item View List” will now have a list of the contents of the selected folder. If you had selected “Documents” in the “Tree View”, then the “Items View List” will have a list of all the documents saved in this folder. You can now use the UP or DOWN arrows or “First letter navigation” to navigate through the list.
- If you want to open a file that you found in the list, simply press ENTER.
That is it! Go and practice how to go through the files in the different folders in File Explorer on your computer. Note though that the contents of some folders, by default, are not set up like simple lists. Instead, they are set up in grid formats, meaning in rows and columns. For example, the Pictures folder tends to be arranged in such a fashion. So, you would need to use the Left and Right arrows, in addition to the Up and Down arrows, to navigate the folder’s contents.
NAVIGATING THE MAIN MENU
The main menus in Windows 10 and Windows 11 are quite different.
WINDOWS 10
Windows 10 has the menu ribbons, and they are very different to navigate from the regular menus in older versions. A blind or visually impaired person has to become familiar with navigating the ribbons if they want to get tasks done in Windows 10. Even though these ribbons are not in Windows 11, it is still good practice to learn how to navigate them as this style of the menus is retained in the Microsoft Office Suite of Programs. Overall, it is important that one is comfortable with using the main menu as it is where all options or actions can be found. If you cannot remember a keyboard shortcut to perform a certain task, just navigate the main menu and you are sure to find the option there.
Here are the steps to navigate the menu ribbons in Windows 10:
- Press Alt to open the menu.
- Use the Left or Right arrow keys to move along the horizontal bar [the upper ribbon] which consists of different tabs or menu headings. You will hear options such as File, Home, View etc.
- To access the options under any of these upper ribbon tabs just press Enter on that particular tab. This step is necessary because the lower ribbon in File Explorer tends to be collapsed or hidden. If you perform this step and you are taken out of the menu and placed back on the regular part of the Window, then try skipping this step.
- Use the Tab key to move through the options on the lower ribbon.
- Press Enter on any option that you would like to activate.
Example: Say you want to find the option “copy”. Just do this:
- Press Alt.
- Right arrow to Home.
- Press Enter.
- Tab to “copy”.
- Press Enter.
Please note that the “File” option on the upper ribbon is a drop down menu and your screen reader will announce it as such. Therefore, the Up or Down arrows can be used to go through its options instead of the Tab key.
WINDOWS 11
Windows 11 sees the return of a much simpler version of the menus. It is not only navigable with only the arrows, but in addition, it comes with a much simpler layout. You would still press Alt to access it, then you can use the right and left arrows to go through the menu headings. These menu headings in this version are really just representations of commonly done tasks or commonly used options in File Explorer. If you want any of those options, simply press the Enter key. Upon pressing Enter, some of the options will open a smaller menu which you can navigate with your up and down arrows. Then select Enter again on any option you want.
For example, if you want to create a new folder in Windows 11, follow these steps:
- Press Alt.
- If you hear “New”, as this is the first option, just press Enter. If you do not hear “New,” left or right arrow until you do and then press Enter.
- Down arrow to “Folder” and then press Enter again.
You would then now be placed in an area where you can name your new folder. Not hard at all, the menu is pretty easy to use in Windows 11.
Take away keyboard shortcuts
| Keystroke | Function |
| Windows + E | Opens File Explorer Window |
| Alt | Opens main menu |